
This is the third and final part of the series on Features. In the first part, we looked at how to create a feature module. In the second part, we looked at how to add a new component to a feature and recreate it. In this part, we are going to walk through how you can change a component that is already in a feature and then either update or revert the feature.
Why update or revert a feature
Before we get into how to update and revert a feature, it is important to understand why we would want to do such a thing and the difference between updating and reverting.
If you have a feature that has already been created and then you make a configuration change to one of the components, the feature will become overridden. This means that the configuration settings that you have made in the UI are stored in the database but do not match the feature module code.
At this stage, you have two options: update the feature or revert it. Updating the feature means that you are taking the changes that have been made in the UI and applying them to your feature code. It will update the module code and ensure that it matches the configuration settings in the database. If you revert it, you are doing the opposite. You are effectively undoing the changes that have been made. The module code will not be changed. Instead, the database configuration will revert back to the settings that are stored in code.
When do you revert and when do you update?
You update when you are happy with the change you have made and want to commit that to code. You revert when you have made a mistake, or are otherwise unhappy with the changes you have made, and want to undo them (there is another case for reverting and it is to do with deployment, but I will discuss that another time).
An example
Ok, so now we know what updating and reverting means and why we would want to do it, let’s look at an example and walk through how we can do it. For this example, we will use the Todolist feature module created in the last two tutorials in this series.
We are going to make one really simple change, which is to change the label of the Due date field.
Go to manage fields for the Task content type. You will find this here: admin/structure/types/manage/todotoday-task/fields
Click on edit for field_due_date and change the label from Due date to Due.

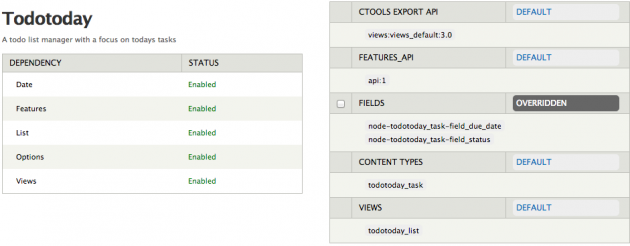
Now go to the Features page. You will find this here: admin/structure/features.
Here you will see that the feature has a status of Overridden. This is because you have made a configuration change and this change overrides the settings that are stored in code.

At this stage you have two options: revert it or update it. If you revert it, the change you just made will be removed and the due date field will go back to having a label of due date.
If you update it, the change from due to due date will be made in code.
We are going to update it, but before we do, let’s take a look at the change. First, you need to download and enable the Diff module. Then, simply click on “Overriden”.
You will be shown a screen like below:

As the name (Diff) suggests, this shows the difference.
* default is what is stored in code
* overridden is the configuration change that you have just made
Now it is time to update the feature code. Click on the Recreate tab and open the Advanced tab, which you will see in the bottom left corner of the screen. All you need to do is hit the Generate feature button. This will update the code with your current configuration settings.
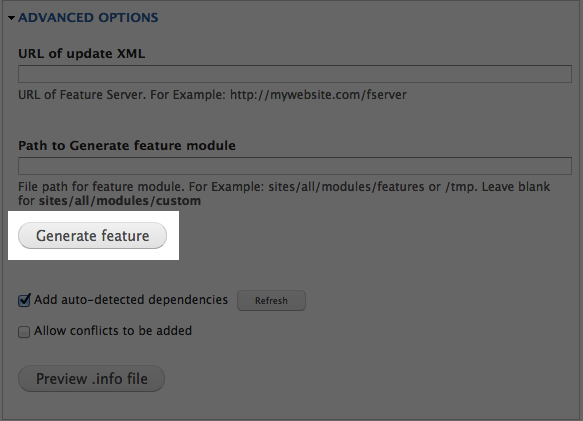
Note: the generate feature button is in Features 2. If you are using Features 1, you will need to download the feature (or use Drush).
Now if you go back to the View tab, you will see that everything is in default. So the database and code now match.
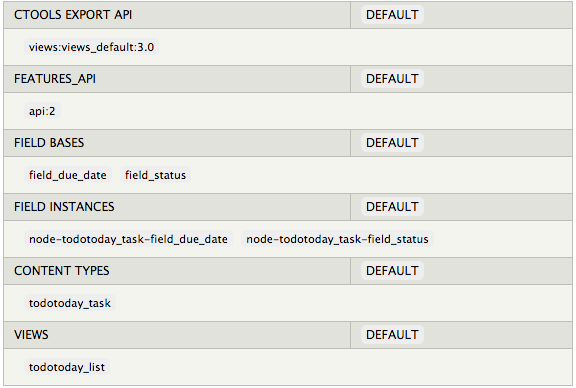
And that is all there is to it - you have just updated your feature module.
